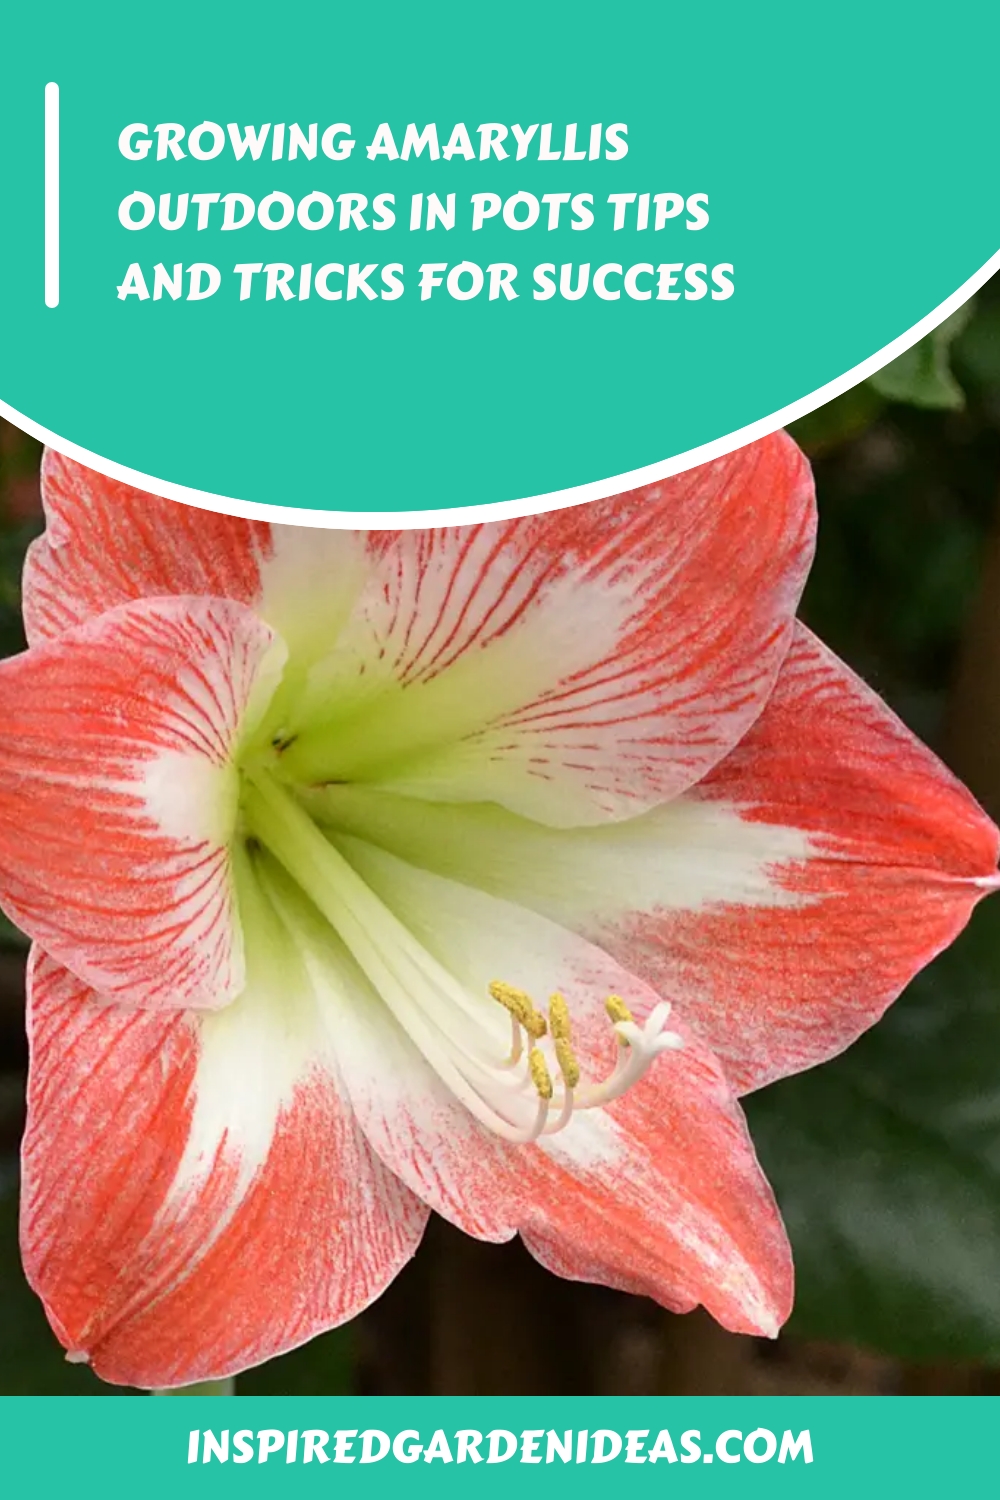
Amaryllis is a beautiful flowering plant that can brighten up any outdoor space growing amaryllis outdoors in pots. With its vibrant colors and large blooms, it is no wonder that many gardeners choose to grow amaryllis in their gardens. However, if you live in a colder climate or do not have a large garden, you may be wondering if it is possible to grow amaryllis outdoors in pots. The answer is yes! In this article, we will discuss everything you need to know about growing amaryllis outdoors in pots, including tips and tricks for success.
1. Choosing the Right Pot

The first step in successfully growing amaryllis outdoors in pots is choosing the right pot. Amaryllis bulbs are quite large, so you will need to select a pot that is at least 6-8 inches deep and has a diameter of 8-10 inches. Additionally, make sure that the pot has good drainage holes to prevent water from accumulating and causing root rot.
Sub Headings:
- Material: When it comes to the material of the pot, there are several options available. Terracotta pots are a popular choice as they are durable and provide good drainage. However, they can dry out quickly, so you will need to keep a close eye on watering. Plastic pots, on the other hand, are lightweight and retain moisture well, but they may not be as aesthetically pleasing as terracotta pots. Ultimately, the choice of material will depend on your personal preference and the conditions in your garden.
- Size: As mentioned earlier, it is important to choose a pot that is at least 6-8 inches deep and has a diameter of 8-10 inches. This will give the amaryllis bulbs enough room to grow and develop strong roots. If you want to plant multiple bulbs in the same pot, make sure to leave enough space for them to grow without crowding each other.
- Drainage: Proper drainage is crucial for the success of your amaryllis plants. Make sure that the pot you choose has good drainage holes at the bottom. You can also add a layer of gravel or broken pottery pieces at the bottom of the pot to improve drainage.
2. Preparing the Bulbs
Before planting your amaryllis bulbs, it is important to prepare them properly. This will ensure that they have the best chance of thriving in their new environment.
Sub Headings:
- Soaking: Amaryllis bulbs are typically sold as dry bulbs, so it is important to soak them in water before planting. Fill a bowl or bucket with lukewarm water and place the bulbs inside. Let them soak for 2-4 hours, but no longer than 12 hours. This will help to rehydrate the bulbs and encourage root growth.
- Cleaning: While the bulbs are soaking, take the time to clean them. Gently remove any loose or damaged outer layers, being careful not to damage the bulb itself. This will prevent any potential diseases from spreading to your new plants.
- Storing: If you are not ready to plant your amaryllis bulbs immediately after purchasing them, you can store them in a cool, dry place for a few weeks. Make sure to keep them out of direct sunlight and check on them regularly to ensure they are not drying out.
3. Planting and Caring for Amaryllis Bulbs
Now that your pots are ready and your bulbs are prepared, it is time to plant them and give them the care they need to thrive.
Sub Headings:
- Planting Depth: When planting your amaryllis bulbs, make sure to bury them deep enough. The top of the bulb should be just below the soil surface, leaving the top third of the bulb exposed. This will help to prevent rot and promote healthy root growth.
- Soil: Amaryllis bulbs prefer well-draining, fertile soil. You can use a mixture of potting soil, perlite, and compost for best results. Avoid using regular garden soil as it may not provide adequate drainage.
- Watering: Water your amaryllis plants sparingly, only when the top 1-2 inches of soil are dry. Overwatering can lead to root rot, so make sure to check the soil moisture regularly and adjust your watering schedule accordingly.
- Fertilization: Amaryllis plants benefit from regular fertilization, especially during the active growing season. Use a balanced fertilizer every 2-3 weeks, following the instructions on the package carefully.
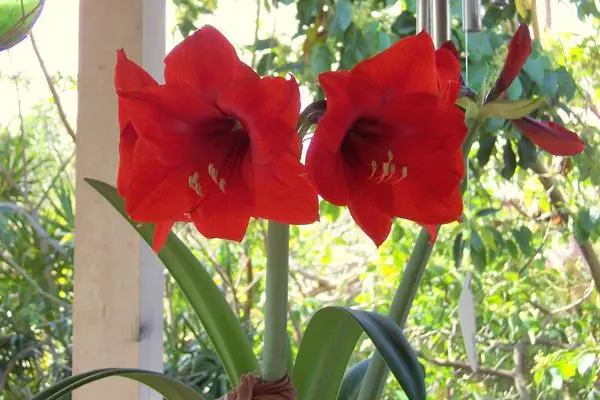
- Sunlight: Amaryllis plants thrive in bright, indirect sunlight. Place them in a spot that receives at least 6 hours of sunlight per day. If you are growing them indoors, a south-facing window is ideal.
4. Common Problems and Solutions

Even with proper care, you may encounter some issues while growing amaryllis outdoors in pots. Here are some common problems and their solutions.
Sub Headings:
- Yellowing Leaves: If the leaves of your amaryllis plants start turning yellow, it could be a sign of overwatering or poor drainage. Make sure to check the soil moisture and allow the plant to dry out between waterings.
- Pests: Amaryllis plants are susceptible to aphids, mealybugs, and spider mites. Regularly inspect your plants for any signs of infestation and treat them with neem oil or insecticidal soap if necessary.
- No Blooms: If your amaryllis plants are not producing any blooms, it could be due to insufficient sunlight or inadequate fertilization. Make sure to provide them with enough light and feed them regularly.
5. Harvesting and Storing Amaryllis Bulbs
After your amaryllis plants have finished blooming, you may want to harvest the bulbs and store them for future use.
Sub Headings:
- When to Harvest: Wait until the foliage dies back naturally before harvesting the bulbs. This will allow the bulbs to store enough energy for next year’s growth.
- How to Harvest: Carefully dig up the bulbs and remove any remaining soil. Cut off the roots and clean the bulbs thoroughly. Let them dry for a few days in a cool, dry place.
- Storing: Store the bulbs in a cool, dry place until you are ready to plant them again. You can also store them in a paper bag with some peat moss or vermiculite to keep them from drying out.
FAQs
Q: Can I grow amaryllis outdoors in pots if I live in a colder climate?
A: Yes, you can still grow amaryllis outdoors in pots even in colder climates. Just make sure to bring them indoors or protect them during freezing temperatures.
Q: How often should I fertilize my amaryllis plants?
A: Amaryllis plants benefit from regular fertilization every 2-3 weeks during the active growing season.
Q: What is the ideal temperature for amaryllis plants?
A: Amaryllis plants prefer temperatures between 65-75°F (18-24°C) during the day and around 55°F (13°C) at night.
Q: Can I plant multiple amaryllis bulbs in one pot?
A: Yes, you can plant multiple bulbs in one pot, but make sure to leave enough space for them to grow without overcrowding each other.
Q: How long does it take for amaryllis bulbs to bloom?
A: Amaryllis bulbs usually take 6-8 weeks to bloom after planting, depending on the variety and growing conditions.
Conclusion
Growing amaryllis outdoors in pots is a great way to add color and beauty to your outdoor space. By choosing the right pot, preparing the bulbs properly, and providing them with the proper care, you can enjoy these stunning flowers year after year. Remember to monitor for common problems and follow our tips and tricks for success, and you will be rewarded with vibrant blooms and healthy plants. Happy gardening!